Table of Contents
Install Macports
To be able to install MacPorts , you must have Xcode first installed using the App Store , and you must also install the Xcode command line developer tools :
$ sudo xcode-select --install
# To install Xcode command line ,
# tools .

$ sudo xcodebuild -license
# To accept the license for Xcode ,
# if not already done .
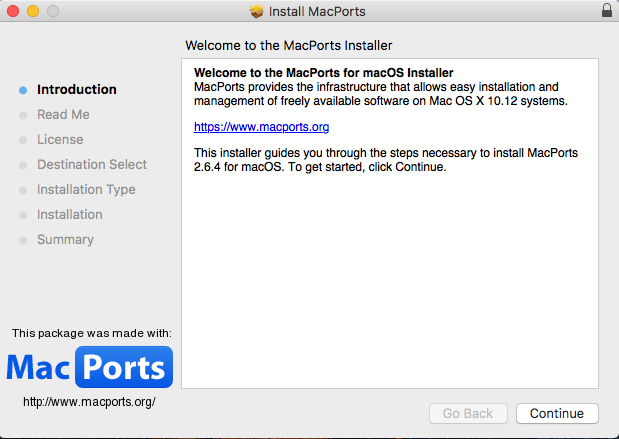
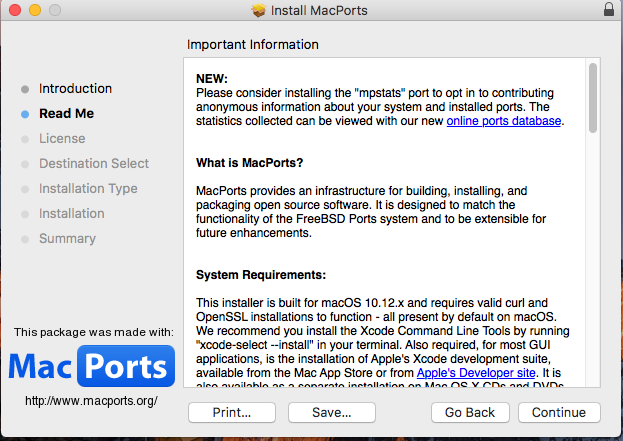
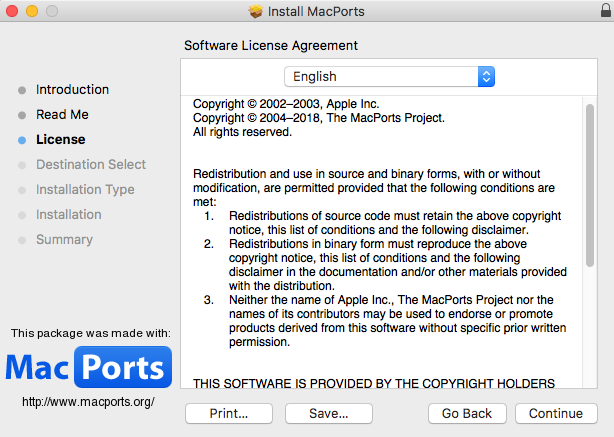
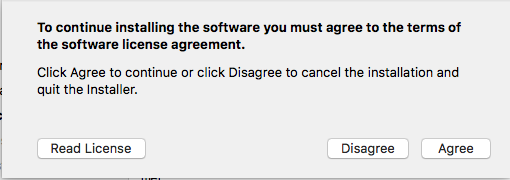
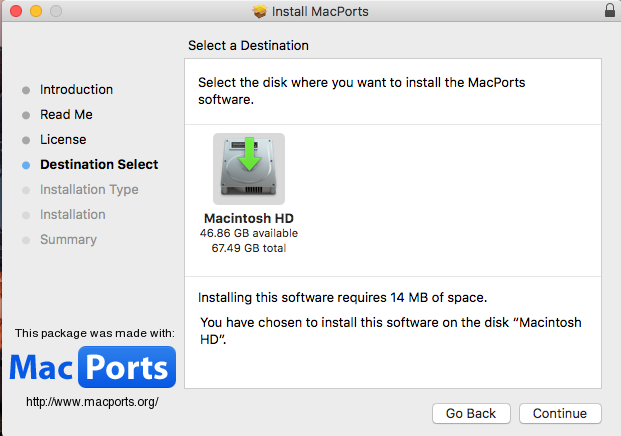
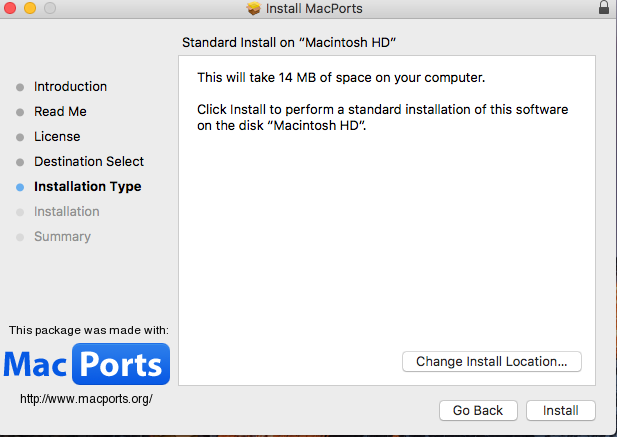
After that , Download MacPorts for your macOS version , from MacPorts official website , and install it as you install any other application . It might take a little bit of time , for installation to finish .

You can update MacPorts , by issuing : sudo port selfupdate , and you can search for packages to install using : port search 'pkg_name_or_description' , you can also install packages by using : sudo port install package_name , and finally you can uninstall an installed package using : sudo port uninstall package_name .
Install php
To install php , issue the following command :
$ sudo port install php74 php74-fpm php74-curl php74-exif php74-gd php74-gettext php74-intl php74-mcrypt php74-mbstring php74-mysql php74-soap php74-openssl php74-xmlrpc php74-zip
Next create php.ini file :
$ sudo cp /opt/local/etc/php74/php.ini-development /opt/local/etc/php74/php.ini
# create a php.ini file .
and create a php-fpm.conf and a www.conf file :
$ sudo cp /opt/local/etc/php74/php-fpm.conf.default /opt/local/etc/php74/php-fpm.conf
# create the php-fpm.conf file

$ sudo cp /opt/local/etc/php74/php-fpm.d/www.conf.default /opt/local/etc/php74/php-fpm.d/www.conf
# create the www.conf file
Next start php fpm , and make it start when macOS starts , by issuing the command :
$ sudo port load php74-fpm
Finally , make the just installed version of php , the default version , by issuing :
$ sudo port select php php74
# restart your shell , so that
# will take effect .

$ php --version
# Check your version after restart ,
# using php --version .
PHP 7.4.12 (cli) (built: Oct 31 2020 15:49:02) ( NTS )
Copyright (c) The PHP Group
Zend Engine v3.4.0, Copyright (c) Zend Technologies
To stop php fpm , and to stop it from starting when macOS starts , you can issue the command :
$ sudo port unload php74-fpm
Install nginx
To install nginx issue the following command :
$ sudo port install nginx
Make a backup of the default configuration :
sudo mv /opt/local/etc/nginx/nginx.conf /opt/local/etc/nginx/nginx.conf.bk
And create a new configuration , as follow :
$ sudo nano /opt/local/etc/nginx/nginx.conf
# Paste the following content :

worker_processes  1;

events {
    worker_connections  1024;
}


http {
    include       mime.types;
    default_type  application/octet-stream;
    sendfile        on;
    keepalive_timeout  65;

    server {
        listen       80;
        server_name  localhost;
        root   /opt/local/share/nginx/html/localhost; # site location on the computer
        index  index.php index.html index.htm;

        client_max_body_size 2000M;

        location / {
            try_files $uri $uri/ /index.php?$args;
        }

        location ~ \.php$ {
        include fastcgi.conf;
        fastcgi_pass  127.0.0.1:9000;
        fastcgi_param   SCRIPT_FILENAME $document_root$fastcgi_script_name;
        }

    }

    # You can add  , other servers , by copying ,
    # the previous server definition , and pasting it ,
    # in this file , before the closing bracket .
}
Test nginx configuration for errors using :
$ sudo nginx -t
nginx: the configuration file /opt/local/etc/nginx/nginx.conf syntax is ok
nginx: configuration file /opt/local/etc/nginx/nginx.conf test is successful
Create a directory for your local development site using :
$ sudo mkdir /opt/local/share/nginx/html/localhost
Start nginx , and make it start when macOS starts by issuing :
$ sudo port load nginx
To stop nginx , and to stop it from starting when macOS starts , you can issue :
$ sudo port unload nginx
Install mysql
To install and configure mysql , issue the following commands :
$ sudo port install mysql8-server
# install mysql

$ sudo port select mysql mysql8
# select mysql8 , as the default
# mysql version .

$ sudo /opt/local/lib/mysql8/bin/mysqld --initialize --user=_mysql
# create a database , this will
# autogenerate a root password .


$ sudo nano /opt/local/etc/mysql8/my.cnf
# add after :
# !include /opt/local/etc/mysql8/macports-default.cnf
# the following :
[mysqld]
skip_networking=OFF
default_authentication_plugin=mysql_native_password
# exit and save , this will enable
# networking , and the use
# of old password authentication
# method .


$ sudo port load mysql8-server
# start the mysql server , and
# make it start when macOS starts .


$ sudo /opt/local/lib/mysql8/bin/mysqladmin -u root -p password
# set the root password , to something
# you want , use the old auto
# generated password , when prompted
# for the current password .
Install wordpress
First create a database , for your WordPress installation :
$ mysql -u root -p
# Enter your password when
# prompted .

mysql> CREATE DATABASE database_name;

mysql> CREATE USER 'username'@'localhost' IDENTIFIED BY 'password';

mysql> GRANT ALL PRIVILEGES ON database_name.* TO 'username'@'localhost';

mysql> FLUSH PRIVILEGES;

mysql> EXIT
Now configure WordPress :
$ cd /opt/local/share/nginx/html/localhost
# cd into your website root folder .


$ sudo curl -O https://wordpress.org/latest.tar.gz
# download the latest version of WordPress


$ sudo tar -xzf latest.tar.gz
# extract it


$  sudo mv wordpress/* .
# move the content of the extracted
# folder to localhost , your website
# top level folder .
Next ,
$ sudo rm -rf wordpress/ latest.tar.gz
# remove the empty wordpress folder
# , and the latest.tar.gz
# file .


$ sudo cp wp-config-sample.php wp-config.php
# create a configuration file from
# the sample configuration file .


$ sudo nano wp-config.php
# edit , the configuration file ,
# to define the database name
# , username , password , host ,
# and to set the download method
# for plugins , and themes to be
# direct .

define( 'DB_NAME', 'database_name' );

define( 'DB_USER', 'username' );

define( 'DB_PASSWORD', 'password' );

define( 'DB_HOST', '127.0.0.1' );

define( 'FS_METHOD', 'direct' );
# save and exit
vist http://localhost to install wordpress .


